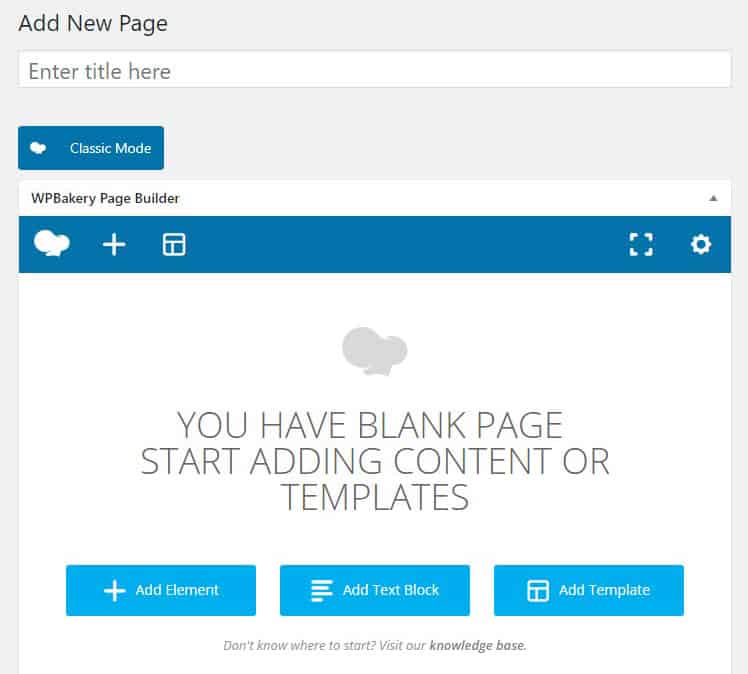
This tutorial is for WordPress websites using WPBakery Page Builder (formerly Visual Composer), which is quite a bit different than the default WordPress editor. Most sites that we build for clients use WPBakery Page Builder as the default page editor.
Login to the Admin Area of your site.
It should be located at http://yoursite.com/wp-admin/ – replace yoursite.com with your domain name.
If you don’t know your Admin login information check with your web designer.
Go to Pages > Add New
Add a Title, and click the Add Text Block button.
[Doesn’t look like the image? Click the button that says Backend Editor. If you aren’t using WPBakery Page Builder it won’t look like this]
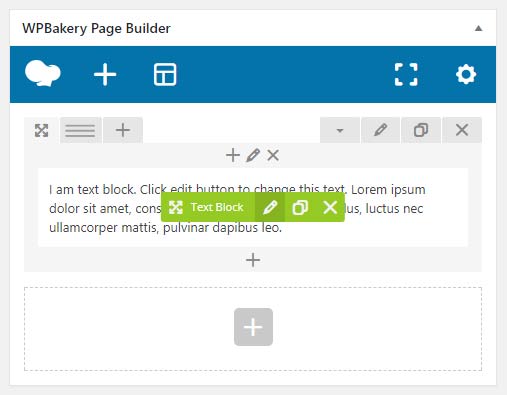
Move the mouse over the text block and a pop up with a green box will appear.
Click the pencil icon in the green area to edit the text.
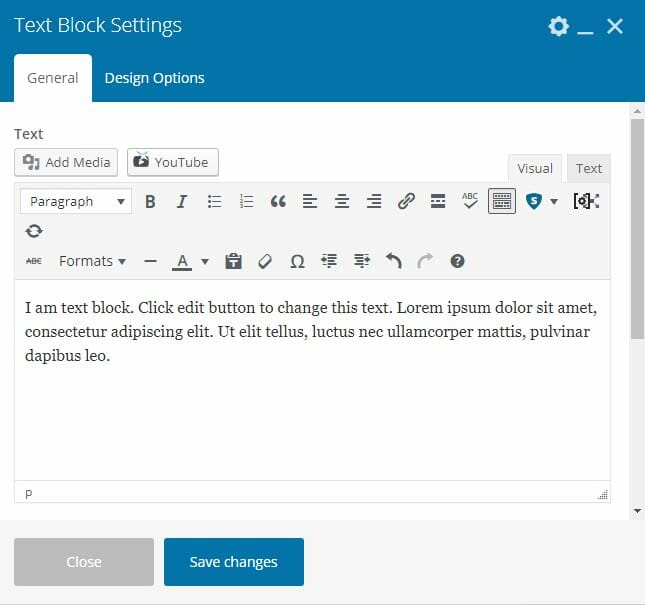
Add content for your website. You can add photos and videos using the add media button. Images in most cases should be aligned to the left or right to that text will wrap around. Style the content how you want it to appear on your website.
After you have finished editing the text block click Save changes.
After saving the text block you still need to save the draft to work on it later, or publish the page, so that you don’t lose the work that you have done.
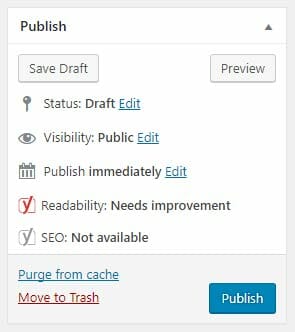
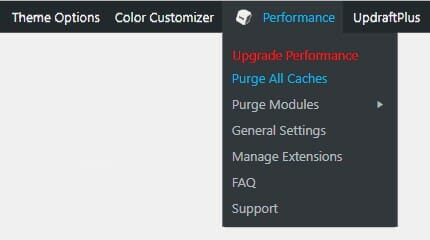
If you are using a caching plugin (which you definitely should be, see here: How to Make your WordPress Site Fast) you might need to clear the cache in order to make the changes live immediately. This isn’t relevant when publishing a page for the first time since there isn’t any cached version, but for edits, it’s important. Otherwise, the changes might not appear for a few days or weeks depending on the caching plugin settings.
The image shows an example of how to purge all caches with W3 Total Cache, from the admin menu bar.
This tutorial just covered the basics of adding content to a page. Page Builder has a lot of advanced options you can learn. I recommend watching videos on YouTube to learn more.
Have any questions or comments? You can post them below.

